pasquinade
Well-known member
- Joined
- Dec 15, 2016
- Messages
- 74
With only a month of ownership (and 5000 km), my wife managed to back up the passenger sidemirror into a concrete pillar:

After getting a quote from Mitusibishi for 440 euros for the replacement (full side-mirror), we tried alternate channels (ebay, etc) but no luck (confirmed with the seller that the diesel version is different).
This weekend I had a little fun trying to reconstruct the missing bit. This is the first time I did anything like this, so any tips will be appreciated. I add some photos of the sidemirror for people who might want to open it up in the future.
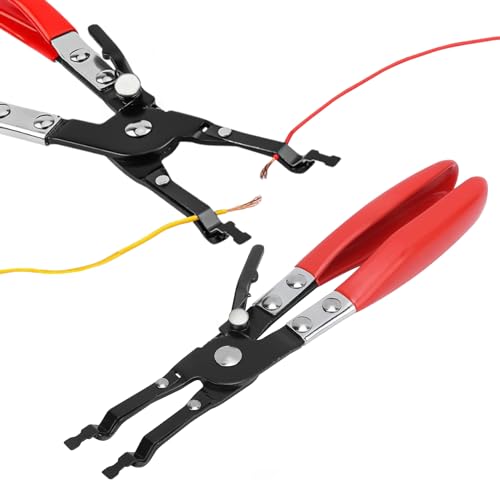
First had to open the part. Start with the glass mirror itself, it is just snap on and comes easily out. It has two wires for the defogging feature just disconnect them:

Then there is this rubber cover which is only connected using some sticky adhesive (similar to bostik). Carefully pull it out:


Then you need to remove the top painted cover. This is only held by plastic pins and you can aid them coming out from the inside. It is well fixed and needs a bit of patience.
The bottom part is held by a couple of screws and pins. One of the screws is on the outside (behind the top panel just removed), the other is one of the screws used to hold the camera. After removing these two screws you need to release the pins holding the bottom cover and camera. Once it’s free wiggle a bit to find an angle which allows you to remove the second camera screw.
Here I noticed that there was some additional internal damage… many cracks and some cover pins were broken:


I super-glued all the plastic parts and pins, and around the pins I added some epoxy glue for reinforcement.
Then came the real work. To create a structural connection where the missing plastic was, I made a small mold out of aluminium tape and filled in the gap with epoxi interleaved with some cotton gauze (from a medical kit). The idea of the gauze is to have the glue stay in place instead of gravitically oozing to the lower parts. I noticed that the mix got quite hot so probably some reaction happened with the cotton (or perhaps it was not cotton?):


It doesn’t look like much but it is quite sturdy. Did not try to cover all the holes in one go, just went for the big one first.
Then with the dremel and sand paper I cut down the epoxy to a smaller shape. Also repeated the process to cover the smaller holes. Here’s some intermediate photos:


Looks like crap") Then I used some body work repair filler and applied quite a bit over the epoxy. The idea is the epoxy to provide structural integrity and the filler, which is easier to sand and shape, to provide the final shape.
Then I used some body work repair filler and applied quite a bit over the epoxy. The idea is the epoxy to provide structural integrity and the filler, which is easier to sand and shape, to provide the final shape.

Had to re-apply the filler once or twice, ensuring enough material everywhere. Once It was close to the final shape I started snapping the covers back on, checking required dimensions to ensure a perfect fit. Some hours later this is the result, still with only 320 sand paper applied:


This weekend I leave it like this and will try to find a primer and filler for the final small imperfections (small sanding holes) and look for a suitable paint. The original part is not painted (it is the plastic itself) and is not really black, but a dark blueish grey. I think I will try to find as close as possible and check if I need to apply the paint to the driver side as well (for simmetry). But this I leave for next week.
You will notice that I did all this with the mirror attached to the car. For some unknown reason, Mitsubishi placed the mirror-door screws too low so that it is not enough to remove the small inner triangle cover to remove the mirror. It seems that you need to remove all the inner door plastics. I admit, I’m not brave enough to do this yet (I fear I’ll break a few pins in the process). Sorry no picture, but you use a screwdriver to remove the top small triangular part (It’s held by a pin easy to take out) you’ll see immediately what I mean… Mitsubishi has some of these small annoyances (it’s not the first I find)...
All the best.
After getting a quote from Mitusibishi for 440 euros for the replacement (full side-mirror), we tried alternate channels (ebay, etc) but no luck (confirmed with the seller that the diesel version is different).
This weekend I had a little fun trying to reconstruct the missing bit. This is the first time I did anything like this, so any tips will be appreciated. I add some photos of the sidemirror for people who might want to open it up in the future.
First had to open the part. Start with the glass mirror itself, it is just snap on and comes easily out. It has two wires for the defogging feature just disconnect them:
Then there is this rubber cover which is only connected using some sticky adhesive (similar to bostik). Carefully pull it out:
Then you need to remove the top painted cover. This is only held by plastic pins and you can aid them coming out from the inside. It is well fixed and needs a bit of patience.
The bottom part is held by a couple of screws and pins. One of the screws is on the outside (behind the top panel just removed), the other is one of the screws used to hold the camera. After removing these two screws you need to release the pins holding the bottom cover and camera. Once it’s free wiggle a bit to find an angle which allows you to remove the second camera screw.
Here I noticed that there was some additional internal damage… many cracks and some cover pins were broken:
I super-glued all the plastic parts and pins, and around the pins I added some epoxy glue for reinforcement.
Then came the real work. To create a structural connection where the missing plastic was, I made a small mold out of aluminium tape and filled in the gap with epoxi interleaved with some cotton gauze (from a medical kit). The idea of the gauze is to have the glue stay in place instead of gravitically oozing to the lower parts. I noticed that the mix got quite hot so probably some reaction happened with the cotton (or perhaps it was not cotton?):
It doesn’t look like much but it is quite sturdy. Did not try to cover all the holes in one go, just went for the big one first.
Then with the dremel and sand paper I cut down the epoxy to a smaller shape. Also repeated the process to cover the smaller holes. Here’s some intermediate photos:
Looks like crap
Then I used some body work repair filler and applied quite a bit over the epoxy. The idea is the epoxy to provide structural integrity and the filler, which is easier to sand and shape, to provide the final shape.
Had to re-apply the filler once or twice, ensuring enough material everywhere. Once It was close to the final shape I started snapping the covers back on, checking required dimensions to ensure a perfect fit. Some hours later this is the result, still with only 320 sand paper applied:
This weekend I leave it like this and will try to find a primer and filler for the final small imperfections (small sanding holes) and look for a suitable paint. The original part is not painted (it is the plastic itself) and is not really black, but a dark blueish grey. I think I will try to find as close as possible and check if I need to apply the paint to the driver side as well (for simmetry). But this I leave for next week.
You will notice that I did all this with the mirror attached to the car. For some unknown reason, Mitsubishi placed the mirror-door screws too low so that it is not enough to remove the small inner triangle cover to remove the mirror. It seems that you need to remove all the inner door plastics. I admit, I’m not brave enough to do this yet (I fear I’ll break a few pins in the process). Sorry no picture, but you use a screwdriver to remove the top small triangular part (It’s held by a pin easy to take out) you’ll see immediately what I mean… Mitsubishi has some of these small annoyances (it’s not the first I find)...
All the best.